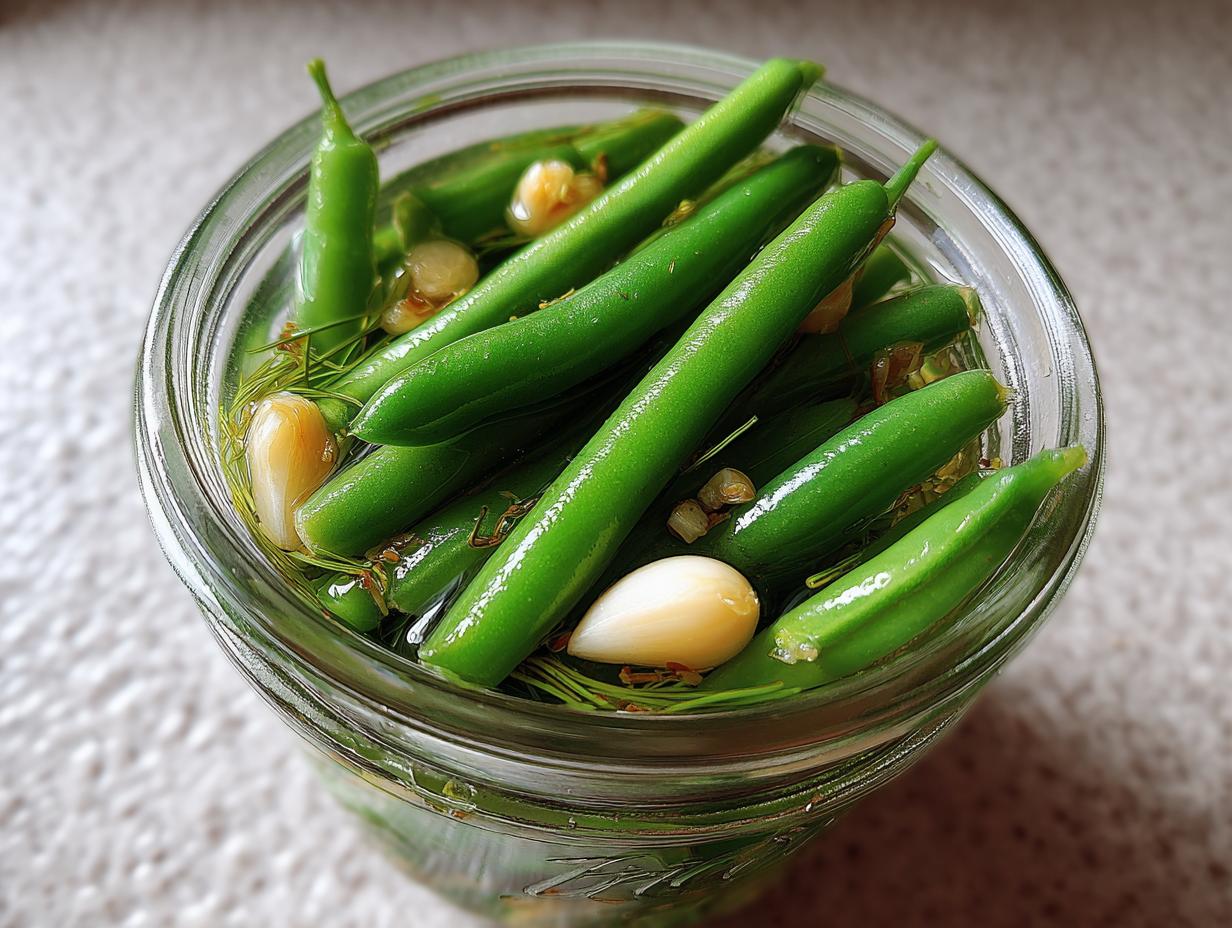
Oh my gosh, have you ever tasted something so good it made you stop mid-bite and say “Wow!” out loud? That’s exactly what happened to me the first time I tried Garlic Lovers’ Dilly Beans at our local farmer’s market. There I was, just browsing the pickle stand, when the vendor handed me a sample – one crisp green bean swimming in garlicky, dilly brine. The flavor explosion nearly knocked me over! I immediately bought two jars (okay, maybe three) and spent the rest of summer putting those tangy, garlic-packed beans on everything from burgers to cheese plates.
Now I make my own version at home, and let me tell you, these aren’t your grandma’s mild-mannered pickles. We’re talking serious garlic punch here – the kind that makes vampire jokes actually relevant. What I love most is how the fresh green beans stay snappy while soaking up all that delicious brine. They’re the perfect balance of crunchy and flavorful, with just enough heat from red pepper flakes to keep things interesting. Trust me, once you try these Garlic Lovers’ Dilly Beans, you’ll understand why I became obsessed that day at the market.
Why You’ll Love These Garlic Lovers’ Dilly Beans
Let me count the ways these garlic-packed pickled beans will become your new obsession! First off, that bold flavor – we’re talking serious garlicky goodness with a dilly tang that makes your taste buds dance. But there’s so much more to love:
- Easy canning magic: Unlike fussy jams or complicated preserves, this recipe keeps things simple. Just boil the brine, pack the jars, and process. Even if you’re new to canning, you’ll feel like a pro!
- Versatility queen: These Garlic Lovers’ Dilly Beans aren’t just for snacking (though trust me, you’ll want to eat them straight from the jar). They’re killer in potato salads, fantastic on sandwiches, and absolutely shine on charcuterie boards.
- Crunch that lasts: Unlike softer pickled veggies, green beans stay gloriously crisp even after months in the pantry – that satisfying “snap” is half the fun!
- Customizable heat: Want more fire? Add extra red pepper flakes. Garlic not strong enough? Throw in another clove or two (I won’t judge – I usually do!).
Honestly, once you taste that garlic-dill-vinegar magic, you’ll understand why I always keep at least six jars in my pantry at all times. These beans are THAT good.
Ingredients for Garlic Lovers’ Dilly Beans
Okay, let’s get real – the magic happens when you use exactly the right stuff. After making dozens (okay, hundreds) of batches, I’ve learned these measurements create the perfect garlicky-dilly balance. Here’s everything you’ll need:
- 2 lbs fresh green beans – look for crisp, bright ones that snap when you bend them (limp beans make sad pickles)
- 4 cloves garlic, minced – or hey, make it 6 if you’re really living that garlic life (I often do!)
- 2 cups white vinegar – the plain 5% acidity kind, nothing fancy
- 2 cups water – filtered if your tap water tastes funky
- 2 tbsp dill seeds – not dill weed! Seeds give that classic pickle flavor
- 1 tbsp salt – plain pickling or kosher salt, no iodine
- 1 tsp red pepper flakes – adjust up or down depending on your heat tolerance
That’s it! Simple, right? But here’s my secret – the quality of your garlic makes ALL the difference. Fresh, plump cloves minced right before mixing will give you that incredible punch of flavor store-bought minced garlic just can’t match. And don’t even think about skimping on the beans – they’re the star of the show!
Equipment You’ll Need
Before we dive into making these glorious Garlic Lovers’ Dilly Beans, let’s make sure your kitchen is armed and ready! Here’s the simple gear you’ll need:
- 4 pint-sized canning jars with lids and rings (or equivalent smaller jars)
- A large saucepan – at least 3 quarts for making that garlicky brine
- Jar lifter – trust me, trying to fish hot jars out of boiling water with tongs is how disasters happen
- Canning funnel – keeps those precious brine drips off your counter
- Bubble remover/chopstick – for getting rid of air pockets before sealing
- Clean towels – because pickling can get messy (ask me how I know!)
That’s really it! No fancy gadgets required – just good old-fashioned canning basics. Though I will say, a magnetic lid lifter is worth its weight in gold if you’re serious about pickling!
How to Make Garlic Lovers’ Dilly Beans
Alright, let’s get these bad boys pickling! I promise it’s way easier than you think. The key is doing things in the right order – we’ll prep our beans, whip up that garlicky brine, then get everything packed up nice and tight in the jars. Ready? Let’s go!
Preparing the Beans and Brine
First things first – give those green beans a good bath! I rinse mine under cold water while checking each one. You want to toss any that look bruised or mushy – only the crispiest beans make the cut here. Then trim off the stem ends (I line them up and do five at a time with my chef’s knife – total time saver!).
Now for the magic potion! In your saucepan, combine the vinegar, water, minced garlic (oh that glorious smell!), dill seeds, salt, and red pepper flakes. Crank the heat to medium-high and let it come to a full rolling boil. This is crucial – that brine needs to boil for exactly 5 minutes to blend all those flavors perfectly. Set a timer because trust me, you’ll get distracted by the amazing garlic-dill aroma filling your kitchen!
Packing and Processing the Jars
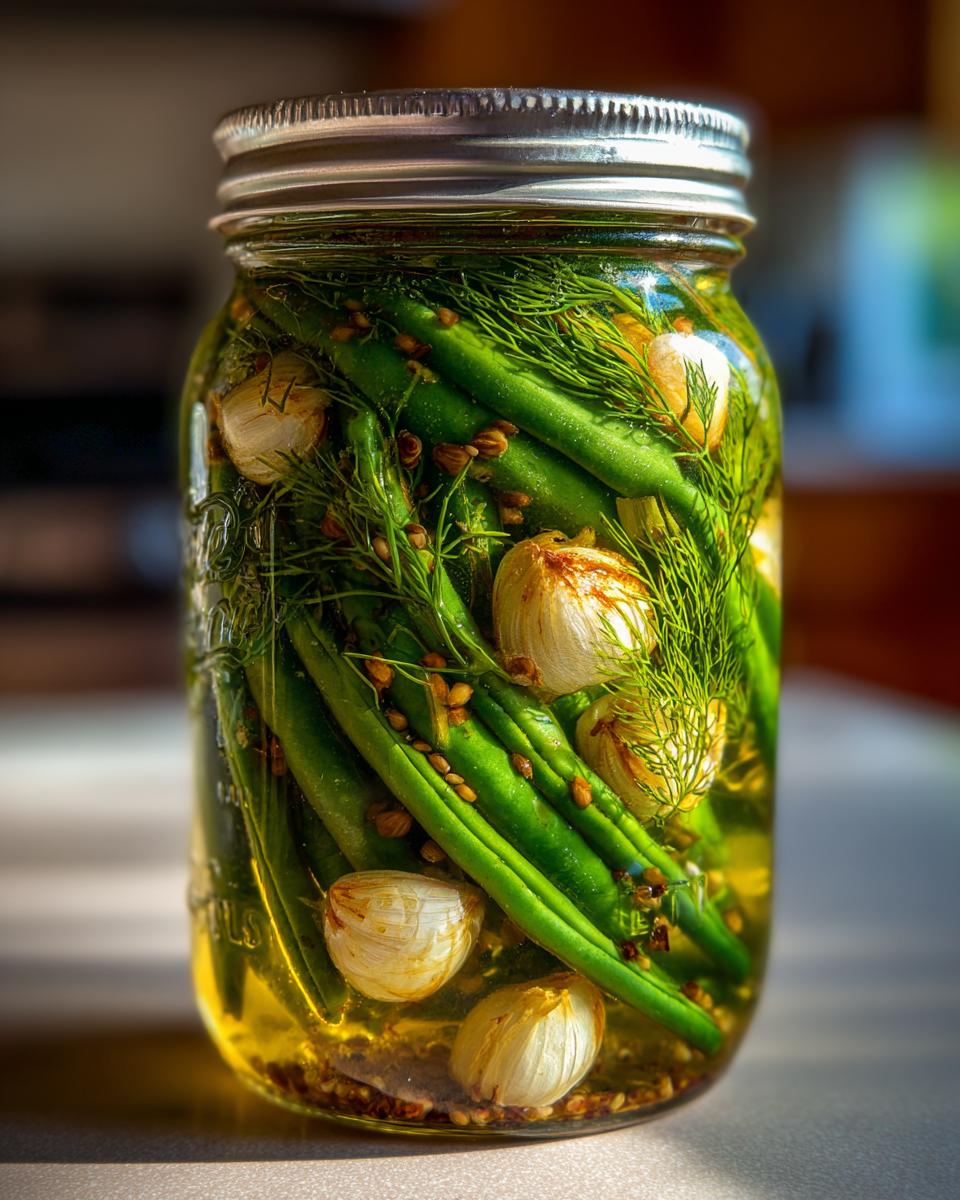
While your brine boils, let’s get those jars ready. Pack your trimmed green beans vertically into sterilized jars – it’s like playing pick-up sticks but way more delicious! Leave about 1/2 inch of headspace at the top (that’s roughly the width of your thumb).
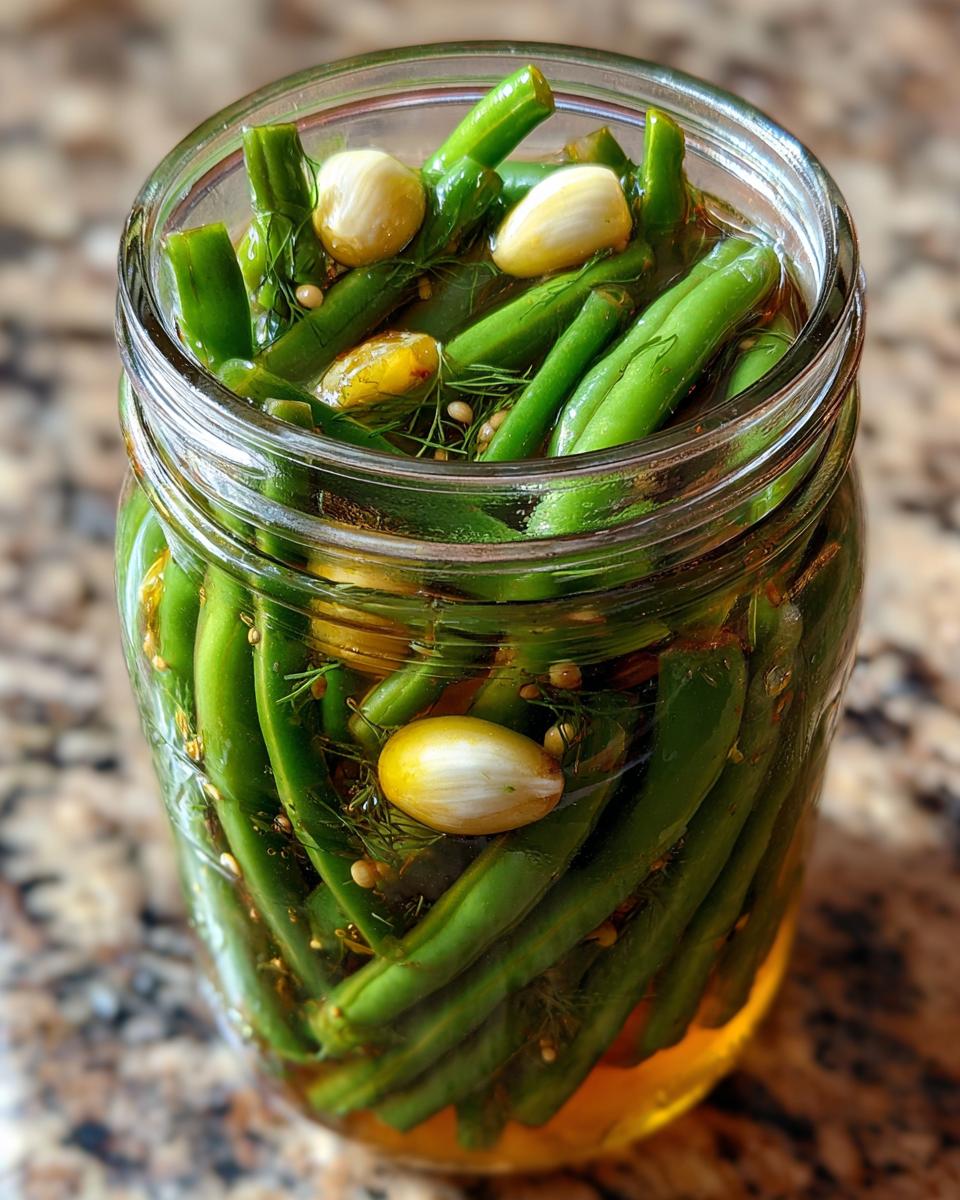
Carefully pour the hot brine over the beans, covering them completely but maintaining that 1/2 inch of space. Now take your chopstick or bubble remover and gently run it around the inside of each jar to release any trapped air bubbles – this prevents floating beans later!
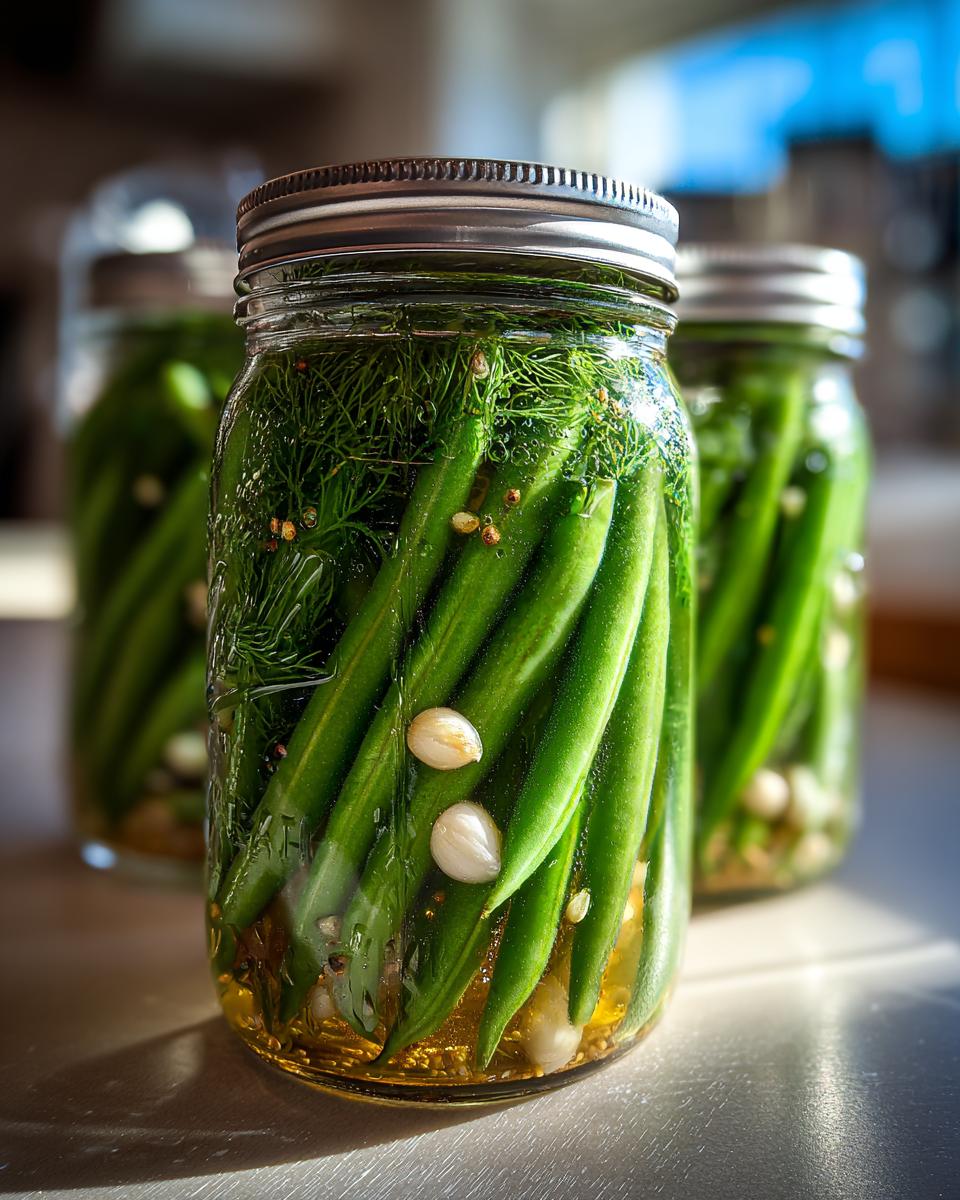
Wipe the jar rims with a clean damp cloth (any brine residue can prevent sealing), then place the lids and screw on the rings just until finger-tight – don’t go Hulk on them! Process the jars in a boiling water bath for 10 minutes (start timing once the water returns to a full boil). When time’s up, remove the jars and let them cool undisturbed for 24 hours. That satisfying “ping” of lids sealing is music to a pickler’s ears!
Tips for Perfect Garlic Lovers’ Dilly Beans
After making countless batches of these beauties, I’ve picked up some tricks that take them from good to “Oh my gosh, give me the recipe!” amazing. Here are my can’t-live-without tips:
- Fresh is best: Use beans within 1-2 days of picking or buying – that crisp snap is everything! Limp beans turn mushy in the jar (sad trombone noise).
- Garlic to taste: The 4 cloves is just a starting point – I often double it! Mince it fresh right before using for maximum flavor punch.
- Patience pays off: I know it’s hard, but wait at least 1 week before eating. Those flavors need time to mingle and become best friends!
- Size matters: Cut beans to fit your jars with 1/2″ headspace – too long and they’ll float annoyingly at the top.
- Brine check: If your brine looks low after packing, top off with hot water – beans must stay fully submerged.
Follow these simple tricks and you’ll be the dilly bean hero of your next picnic or potluck – just don’t be surprised when everyone asks for your secret!
Storing and Serving Suggestions
Once those jars have sealed (listen for that satisfying “ping!”), store your pickled treasures in a cool, dark place. They’ll stay crisp and flavorful for up to a whole year – though let’s be real, they’ll disappear long before then! Once opened, keep them in the fridge where they’ll stay fresh for about a month (if you can resist eating them all in one sitting).
Now for the fun part – how to enjoy them! I love these tangy beans piled on a charcuterie board alongside sharp cheeses and crusty bread. They’re fantastic chopped into potato salad for extra crunch, or try them sliced on burgers for a serious flavor upgrade. My favorite midnight snack? Straight from the jar with a cold beer – pure pickle perfection!
Garlic Lovers’ Dilly Beans Variations
The beauty of these Garlic Lovers’ Dilly Beans is how easily you can tweak them to match your mood! Want to spice things up? Swap the red pepper flakes for sliced jalapeños or even a habanero if you’re feeling brave (just warn your guests!). My neighbor swears by adding mustard seeds for extra zing, while I sometimes throw in a few black peppercorns when I’m feeling fancy.
For herb lovers, try tucking a fresh dill sprig or bay leaf into each jar before processing. And if you’re really wild, experiment with different vinegars – apple cider vinegar adds a subtle fruity note that’s divine. The possibilities are endless with this versatile recipe!
Nutrition Information
Now let’s talk numbers – but remember, these are just estimates! Actual nutrition can vary depending on your exact ingredients and how much of that delicious brine you end up drinking (kidding… mostly). Here’s the breakdown per 1/2 cup serving:
- Calories: 25
- Total Fat: 0g
- Sodium: 300mg
- Total Carbohydrates: 5g
- Fiber: 2g
- Sugar: 1g
- Protein: 1g
Honestly, with numbers this good, I don’t feel one bit guilty about eating these Garlic Lovers’ Dilly Beans by the jarful! They’re practically a health food – packed with fiber from the green beans and all those gut-friendly probiotics from fermentation. Just don’t ask me about garlic breath – that’s a sacrifice I’m willing to make for flavor this good!
Frequently Asked Questions

Can I use frozen green beans instead of fresh?
Oh honey, I’ve tried it – and while you can, the texture just isn’t the same. Frozen beans tend to get mushy after processing. But if that’s all you’ve got, thaw them completely and pat dry first. Just don’t say I didn’t warn you about that disappointing lack of crunch!
How long do these Garlic Lovers’ Dilly Beans last?
Properly sealed jars will keep for up to a year in your pantry (if you can resist eating them that long!). Once opened, they’ll stay crisp in the fridge for about a month – though mine never last more than a week before disappearing!
What if my jars don’t seal?
Don’t panic! First, check that you didn’t overtighten the rings (finger-tight is perfect). Unsealed jars can go straight into the fridge – they’ll still taste amazing, they just won’t have that long shelf life. Eat those first while you make another batch!
Can I reduce the vinegar for a less tangy taste?
I wouldn’t recommend it – the vinegar is crucial for safe canning and proper preservation. But you can balance the tang by adding a teaspoon of sugar to each jar before processing if you prefer a sweeter pickle.
Why are my beans floating in the jar?
Ah, the classic pickle predicament! This happens when air gets trapped during packing. Next time, really wedge those beans in tight and don’t forget to run your bubble remover around the edges. Floating beans are still perfectly safe to eat – just flip the jar upside down occasionally to redistribute the brine!
Fiery Garlic Lovers’ Dilly Beans Recipe That Demands Seconds
- Prep Time: 20 mins
- Cook Time: 15 mins
- Total Time: 35 mins
- Yield: 4 pints 1x
- Category: Pickles
- Method: Water Bath Canning
- Cuisine: American
- Diet: Vegan
Description
A tangy, garlic-packed pickled green bean recipe perfect for those who love bold flavors.
Ingredients
- 2 lbs fresh green beans
- 4 cloves garlic, minced
- 2 cups white vinegar
- 2 cups water
- 2 tbsp dill seeds
- 1 tbsp salt
- 1 tsp red pepper flakes
Instructions
- Wash and trim green beans.
- Combine vinegar, water, minced garlic, dill seeds, salt, and red pepper flakes in a saucepan.
- Bring mixture to a boil.
- Pack green beans into sterilized jars.
- Pour hot brine over beans, leaving 1/2 inch headspace.
- Seal jars and process in boiling water for 10 minutes.
Notes
- Use fresh, crisp green beans for best texture.
- Adjust garlic and pepper flakes to taste.
- Let flavors meld for at least 1 week before eating.
Nutrition
- Serving Size: 1/2 cup
- Calories: 25
- Sugar: 1g
- Sodium: 300mg
- Fat: 0g
- Saturated Fat: 0g
- Unsaturated Fat: 0g
- Trans Fat: 0g
- Carbohydrates: 5g
- Fiber: 2g
- Protein: 1g
- Cholesterol: 0mg